   |
| • What's an Etching? • | • Etching Gallery • | • Etching Tutorial • | • Contact The Wretch • | • Etching Links • |
| - Etching Guide and Tutorial : Applying Hard and Soft Ground - | ||||
| tool list | prep plate | apply ground | transfer art | hard ground | soft ground | aquatint | acid bath | ink and print | etching tips |
Ground is the substance in the etching process that resists the acid. I am going to talk about liquid ground and ball ground. Later on in the tutorial you'll find a section on hard ground, soft ground, and aquatint with some examples of how I use them. More etching techniques, unfamiliar to me, including the use of white ground, sugar lift ground, and others can be found in Ruth Leaf's book. (And other books too I imagine.)
|
My best results have come from Charbonnel brand...both hard and soft. I also prefer using a soft brayer. I am not a spokes-wretch for Charbonnel  |
1. Wipe the plates clean with a little piece of paper towel and a few drops of solvent. Cover the hotplate with a big piece of blotter, put the plates on individual smaller sheets. 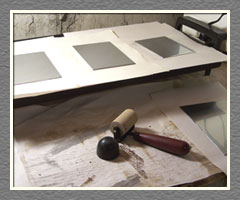 |
2. My hotplate goes from warm to 200d - I set it middle of those two. Pick a plate (the smallest) for your palette. Melt a nice puddle of the ball ground on the chosen plate. 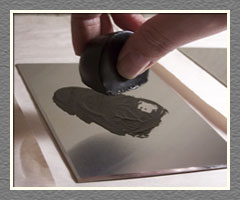 |
3. With a soft brayer work the melted ground on the palette. Your goal is to cover the brayer with the ground. Worry about getting the brayer covered more than the plate. 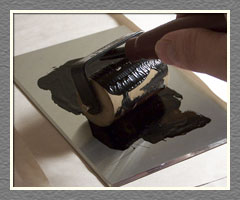 |
4. Keep working that brayer. The surface of it has to get warm or else the ground just solidifies on the roller. Again this is the "palette" plate. 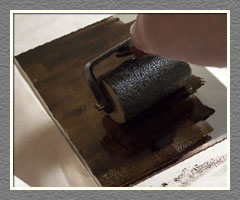 |
5. On one of the other clean plates that have been warming on hot plate, apply the ground using the juiced up brayer. 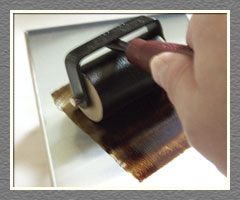 |
6. Cover the plate as thoroughly and evenly as possible; don't worry about getting it even so much - try though. At this point thinner is better - no thick blobs. 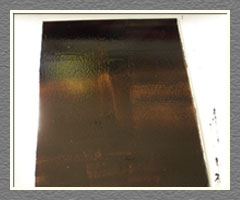 |
7. Remove the plate from the heat by grabbing the blotter paper under the plate. Add more ground to the "palette" plate and juice up that brayer again! (steps 2 - 4) 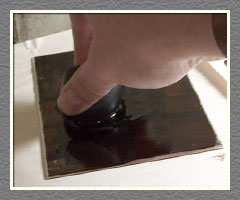 |
8. As the removed plate cools, it will pick up more of the ground from the brayer. Work the juiced up brayer on the cooling plate until the ground gets tacky like paint. You will hear it! 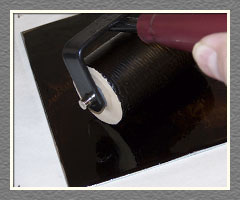 |
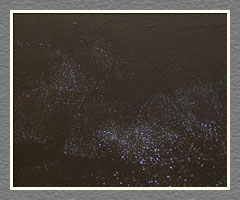
9. Cover the plate with the ground as evenly as you can. Pay attention to the areas that are noticeably thin. The ground may look rough, like when too much paint is applied to a wall by a roller, but this okay.
 |
10. Put the plate back on the hotplate and watch it closely. As it heats up again, the rough texture will start to smooth out. When smooth, quickly remove from the hotplate and let the plate fully cool. That's it! 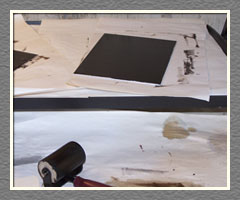 |
11. Repeat the process on more plates! I save the "palette" plate for last. Juice up the brayer again. Remove the palette plate from the heat and work the brayer on it as it cools, The brayer may cool first so be quick. Put it back on the hotplate until it is smooth. The ground may be thick. I say go with it! 12. For cleaning the brayer I keep a stack of used junk blotter and paper. I squirt the solvent on the brayer over the cleaning box then roll the brayer over my stack of junk paper. Roll the brayer on a dry piece from time to time to get more of the ground off. Go side to side with brayer (so the roller doesn't roll) to get spots and tougher areas off. I'm pretty generous with the solvent. Ventilation is essential! |
*Note about Soft Ball Ground: With soft ground you don't want the ground to get too thick - thinner is better with soft ground. More on soft ground later in the program. | ||
| • Go to the Next Step in the Etching Tutorial: Transfer Art • | ||
| - What's an Etching? - | - Etching Gallery - | - Etching Tutorial - | - Contact The Wretch - | - Etching Links - |
| © 2012 All Contents Property of The Wretched Etcher - site designed by Wretched Web Designer | ||||