   |
| • What's an Etching? • | • Etching Gallery • | • Etching Tutorial • | • Contact The Wretch • | • Etching Links • |
| - Etching Guide and Tutorial : Aquatint - | ||||
| tool list | prep plate | apply ground | transfer art | hard ground | soft ground | aquatint | acid bath | ink and print | etching tips |
Aquatint is a method using a powdered acid resistant material. It is good for creating shading and fill.
|
|
 |
Powdered rosin is nasty stuff. With a little heat it will become sticky. You don't want this stuff sticking to your lungs! Use a Good Quality Particle Filter Dust Mask! I also recommend gloves and eye protection. I am not using gloves in the pictures below ...uhmmm ...so ...uhmmm ...well that was before I made the skull graphic. Now I get the message! I lay down plenty of newsprint and throw it away when I am done. Again, powdered rosin is very sticky. You wouldn't leave gum particles sitting around now, would you? |
Print Examples Using Aquatint |
||
Aquatint is good for creating that old rusted metal look. The longer the area is exposed to acid, the darker it prints. 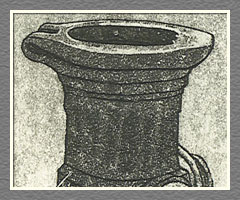 |
Highlights are achived by stopping out the highlight areas after just a brief dunk in acid. 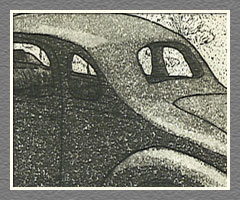 |
This plate had to be removed, brinks painted with stop out, then redunked in the acid, many times. It was a real pain. 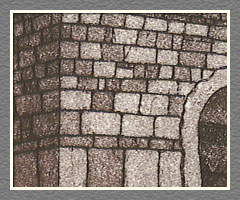 |
Aquatint Using a Rosin Bag |
||
1. Put some lump rosin in a bag. Crush with hammer. Rosin is available already powdered if yer lazy. 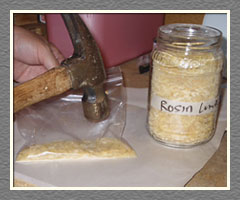 |
2. Cut out a couple sqaures of cheese cloth and put a pile of the powdered rosin in the middle of them. 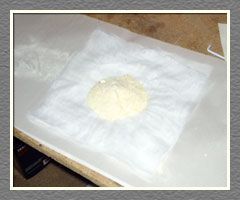 |
3. Pull of the edges to form a bag around the powder. Secure the top with a rubberband. 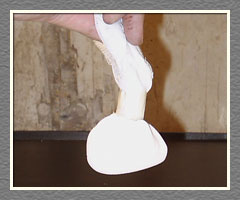 |
4. Find a jar to act as a home for your new rosin bag friend. He is messy and only comes out when needed. 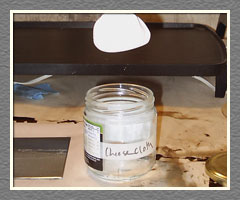 |
5. Put a clean plate on a piece of paper. Gently tap the rosin bag over to shower it with rosin powder. 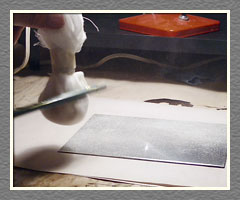 |
6. Make sure the areas you want to aquatint are completely covered. Do the best you can to get an even application. 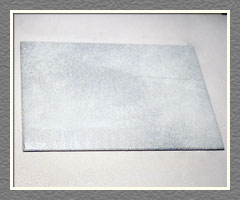 |
7. Using the paper underneath the plate, carefully put the plate on the hot plate, temp at low. As soon as the powder starts to melt, remove the plate and let cool. 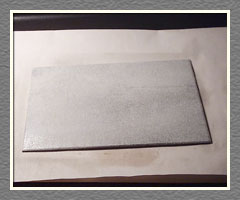 |
8. Using liquid hard ground or stop out, paint over the area you do not want to be effected by the aquatint. 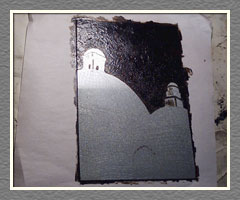 |
9. Depending on how many shades you want, you may have to remove the plate from the acid bath several times to stop out areas you want to be lighter. 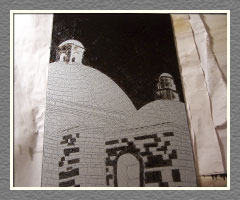 |
*Note about Aquatint: It is best to run some experiments before aquatinting a final plate. One good test is to completely cover a plate with aquatint, then at various intervals of the acid bath, take it out and stop out a stripe and put it back in the acid. Do this at least 5 times. The goal of the experiment is to have a gradual shading from light to almost black at the bottom of the page. Very small periods of time can make a difference in tone. This depends on the strenght of the acid so...experiment. | ||
| • Go to the Next Step in the Etching Tutorial: Acid Bath • | ||
| - What's an Etching? - | - Etching Gallery - | - Etching Tutorial - | - Contact The Wretch - | - Etching Links - |
| © 2012 All Contents Property of The Wretched Etcher - site designed by Wretched Web Designer | ||||