   |
| • What's an Etching? • | • Etching Gallery • | • Etching Tutorial • | • Contact The Wretch • | • Etching Links • |
| - Etching Guide and Tutorial : Transfer Art - | ||||
| tool list | prep plate | apply ground | transfer art | hard ground | soft ground | aquatint | acid bath | ink and print | etching tips |
You can skip this part if your one of them high felutin', no lines, no guides, no authority, free thinking, free spirited folks, who don't like to mess with lines and would never draw from a photo yet alone look at one! I respect that.
|
Transfer A Drawing to the Etching Plate: The drawing should match the size of your plate. If you don't want to "ruin" your drawing, you should copy or scan it or something. |
||
1. The inspiration: A photo of an old mining cart I took at Bodie, California - a state park 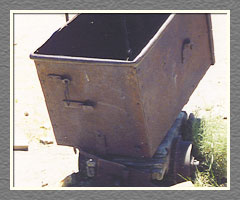 |
2. The cart, drawn the old fashion way, by hand with pencil. 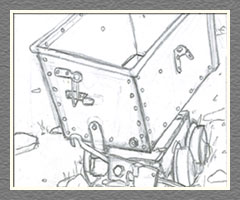 |
3. With a woodless pencil or a regular pencil, cover a sheet of paper with pencil lead. 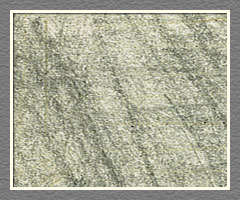 |
4. Put your drawing on top of the paper with the lead and retrace the image with a semi-dull pencil to create a mirror image of the drawing on the back of it. 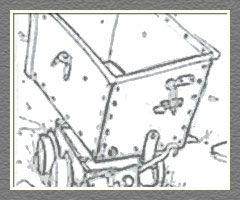
|
5. Put the drawing face down on the plate, mirrored image side up. Retrace the mirrored image to create a pencil outline on the plate. 
|
6. Remember: When the plate prints, it makes a mirror image of what is seen on the plate. 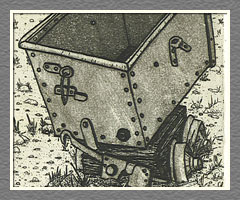
|
Unless you want to destroy your photo, you'll need to copy it or scan it in the computer. Your final images needs to be the same size as the plate. | ||
| • Go to the Next Step in the Etching Tutorial: Hard Ground • | ||
| - What's an Etching? - | - Etching Gallery - | - Etching Tutorial - | - Contact The Wretch - | - Etching Links - |
| © 2012 All Contents Property of The Wretched Etcher - site designed by Wretched Web Designer | ||||