   |
| • What's an Etching? • | • Etching Gallery • | • Etching Tutorial • | • Contact The Wretch • | • Etching Links • |
| - Etching Guide and Tutorial : Ink and Print - | ||||
| tool list | prep plate | apply ground | transfer art | hard ground | soft ground | aquatint | acid bath | ink and print | etching tips |
Ahhhh...that new etched plate smell! Now it is time for the ultimate test of your etching prowess, making a print.
|
Clean Your Plate: Make sure the plate is clean and all hard ground or previous ink has been removed. |
||
1. I use a lot of mineral spirits. Super-duty gloves are not only fun to wear, they protect your hands from the thinner.
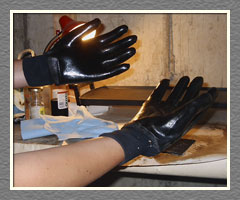 |
2. A cleaning box, full of saw dust, collects the thinner run-off. I use cheap tooth brushes to help with cleaning. 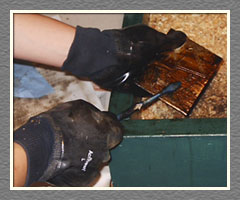 |
3. I use paper towel towels for the final wipes. A lot of bad fumes going on, this is a good "garage" activity. Ventilate! 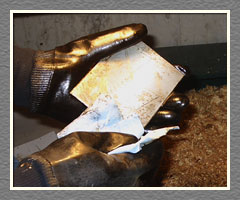 |
Inking and Printing: Time to find out if all the trouble up to this point has been worth it. Clean the plate again with a few drops of thinner to remove any finger prints or remaining gunk. Ink is messy; wear gloves. |
||
1. Clear out that crusty old dried stuff from the top of the etching ink can and serve yourself a dallup. 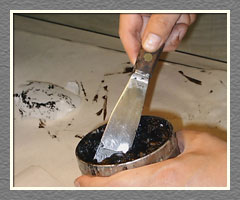 |
2. On your ink pallete, work that ink! Mix in a little gel reducer if it is too think. Sometimes I'll add a drop or two of mineral spirits. 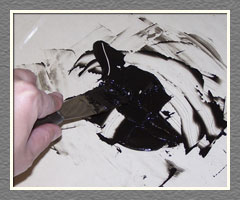 |
3. With clean hands or using a scrap piece of paper, put a piece of the print paper into a tub of water. It will soak whilst we ink. 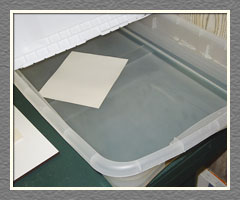 |
4. I use a cork to spread the ink over the plate. Press firmly to make sure the ink goes into all the lines. Drink wine, save the corks. 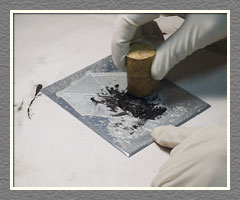 |
5. Make sure you cover the entire plate. The ink will cause the paper to color a little. If you only ink a lone subject in the center, the print may show a dirty halo. 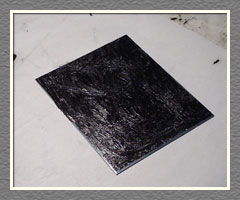 |
6. I use stiff tarlatan to make the first wipes to take the excess ink off the plate. Firmly but not to hard. Keep it flat and wipe flat along the surface. 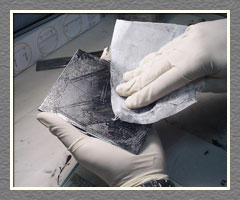 |
7. After most of the ink has been removed, I use phone book paper to wipe the last of it. Wipe flat, kind of like you are polishing the surface. Don't over-wipe. 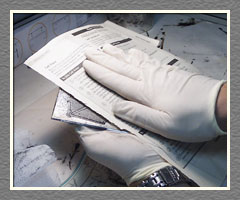 |
8. Try and remove all the ink from any blank areas. It may take a couple tries to get the right balance of ink left on the plate. Experiment around with wiping. 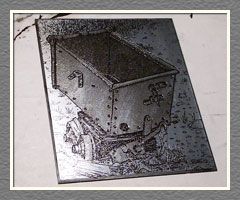 |
9. Your press should be all ready to go. Felts all layered and ready as well. Put the inked plate on a clean piece of paper on the press bed. 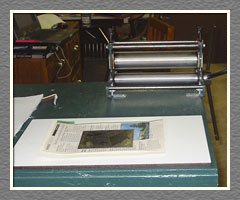 |
10. Go rescue the piece of print paper we left soaking. Let it drip until it don't drip no more. If the paper falls apart, you need to use paper made for etching and /or printmaking. Watercolor paper works. 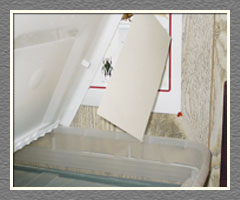 |
11. I keep a box lid full of blotter paper. Put the wet paper between the blotter and rub the top. Move the wet paper to a different layer and repeat. Paper should be damp. No drips. 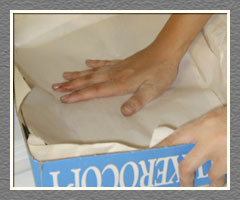 |
12. Put the print paper over the inked plate. Cover with the felts and run that baby through the press! Watch those fingers! This is exciting! 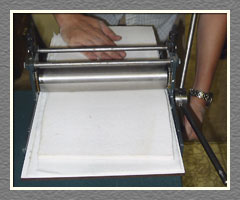 |
13. Slowly lift the paper off the plate and say a little prayer. We are in luck, a print!  |
14. Hang the print up and let it dry. Give it plenty of time for the ink to dry too. 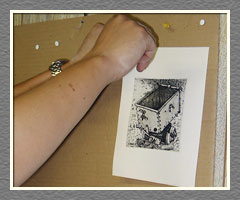 |
15. Repeat as desired! 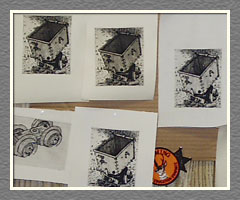 |
After you are done printing, clean the plate using the methods above. | ||
| • Go to the Next Step in the Etching Tutorial: Misc. Tips • | ||
| - What's an Etching? - | - Etching Gallery - | - Etching Tutorial - | - Contact The Wretch - | - Etching Links - |
| © 2012 All Contents Property of The Wretched Etcher - site designed by Wretched Web Designer | ||||